Demo App User Guide
The ZOLOZ Demo App allows you to easily try out ZOLOZ's identity verification products and services without the need for SDK or API integration.
Supported Products
Through the ZOLOZ Demo App, you can freely try out and experience the following products:
- RealID
- Deeper
- ID Recognition
- NFC Reader
- Face Capture
- Connect
Getting Started
Before using the ZOLOZ Demo App, you need to complete the following preparation steps.
Step 1: Activate a demo account
Contact the ZOLOZ BD team and provide your email address to activate and enable your account. After activation, you will receive an email containing the following information:
- ZOLOZ Portal URL
- Login Username
- Login Password
- User Guide
- Quick Access QR Code
Step 2: Download and install the Demo App
The Demo App supports the iOS and Android devices.
- For iOS devices: Search "ZOLOZ" in App Store, then download and install.
- For Android devices: Search "ZOLOZ" in Google Play Store, then download and install.
Step 3: Log in to the Demo App
After installation, tap "Start the journey" to enter the homepage.
- Tap the icon in top-right corner of homepage to access the "Setup test account" page.
- Tap "Scan QR Code to active" and scan the QR code in the email to bind your account.
Note: If you plan to use the Demo App on multiple devices, simply scan QR code on each device.
- After logging in, you can start experiencing the Demo App.
All demo transcations can be searched within the ZOLOZ Portal.
Experience Demo App
After downloading and installing the Demo App, you can begin exploring its features. The app provides various products for you to experience. This guide uses the RealID product as an example to demonstrate the process.
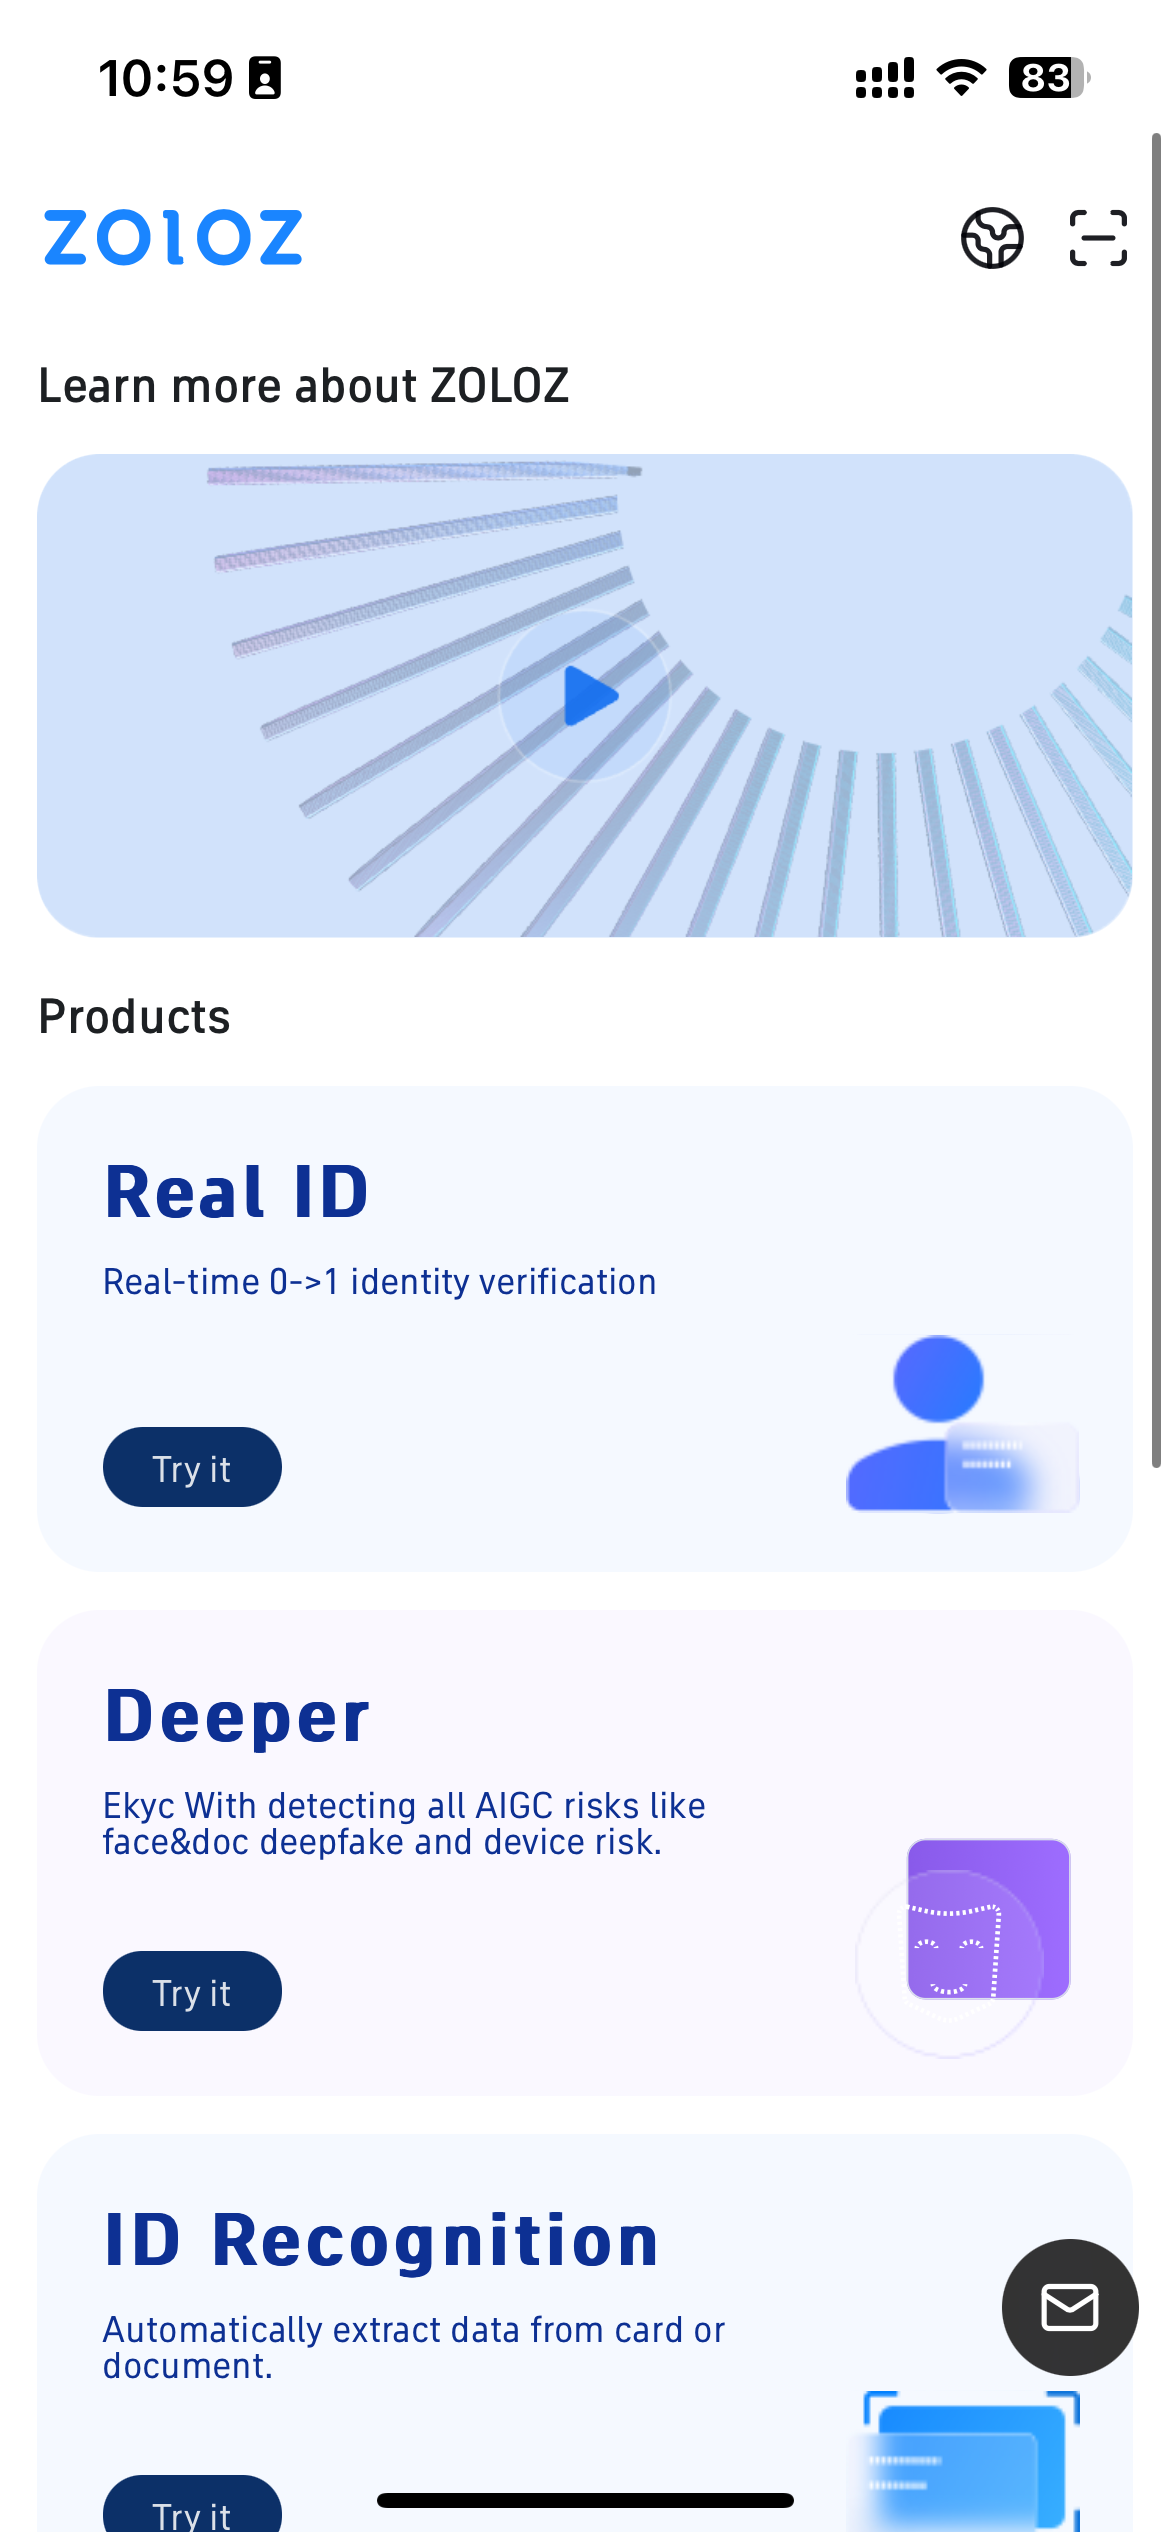
- Tap "Real ID" on homepage.
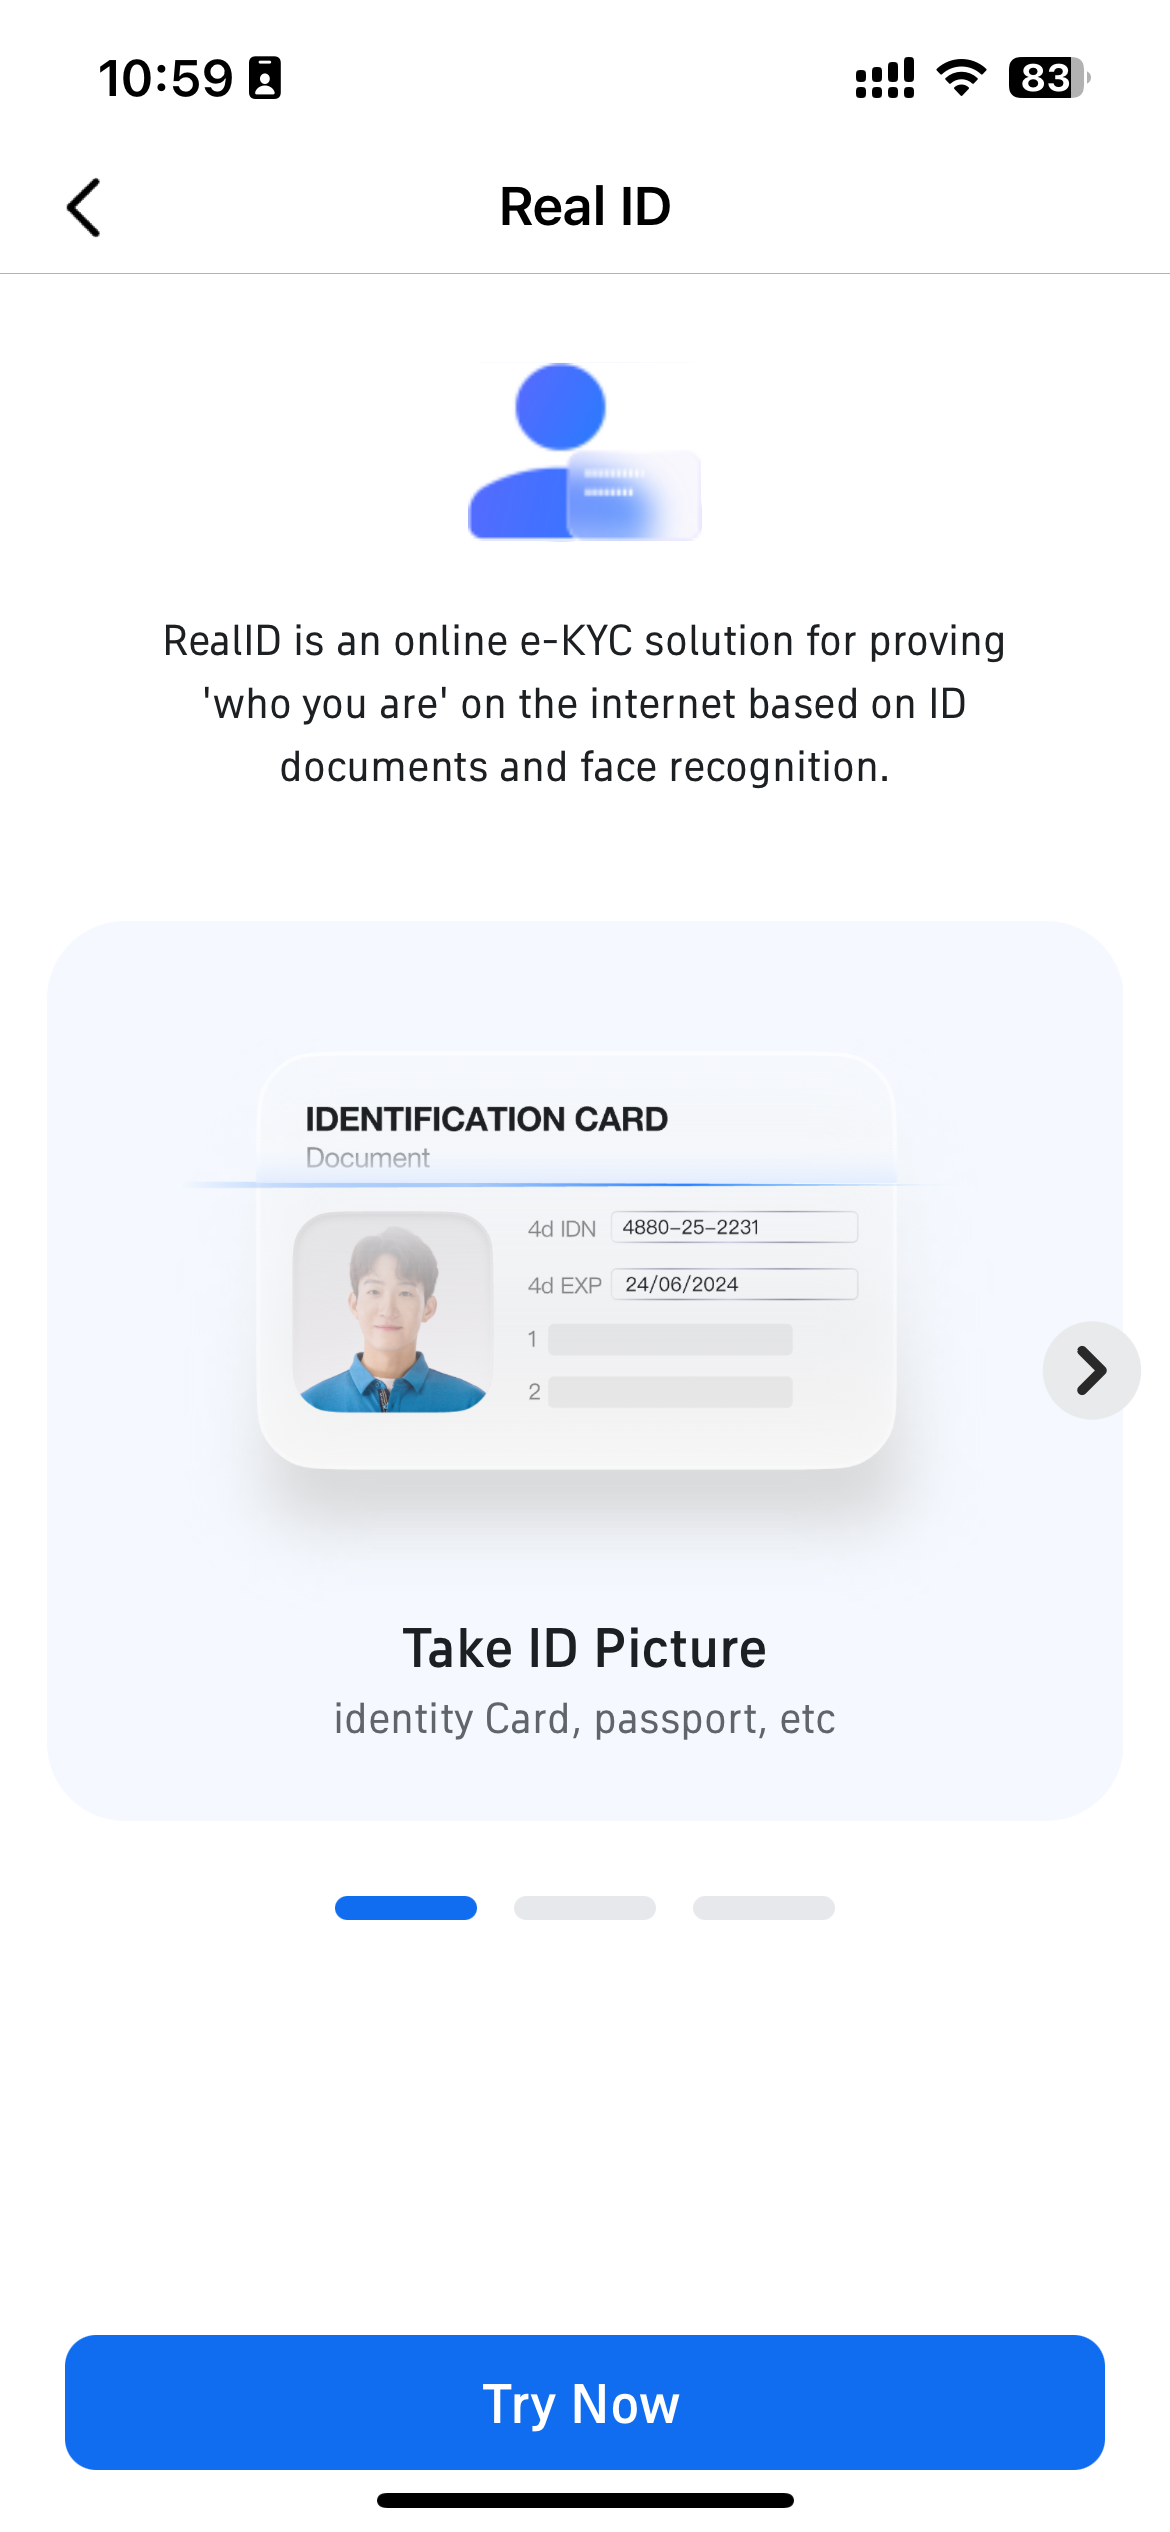
- Tap "Try Now".
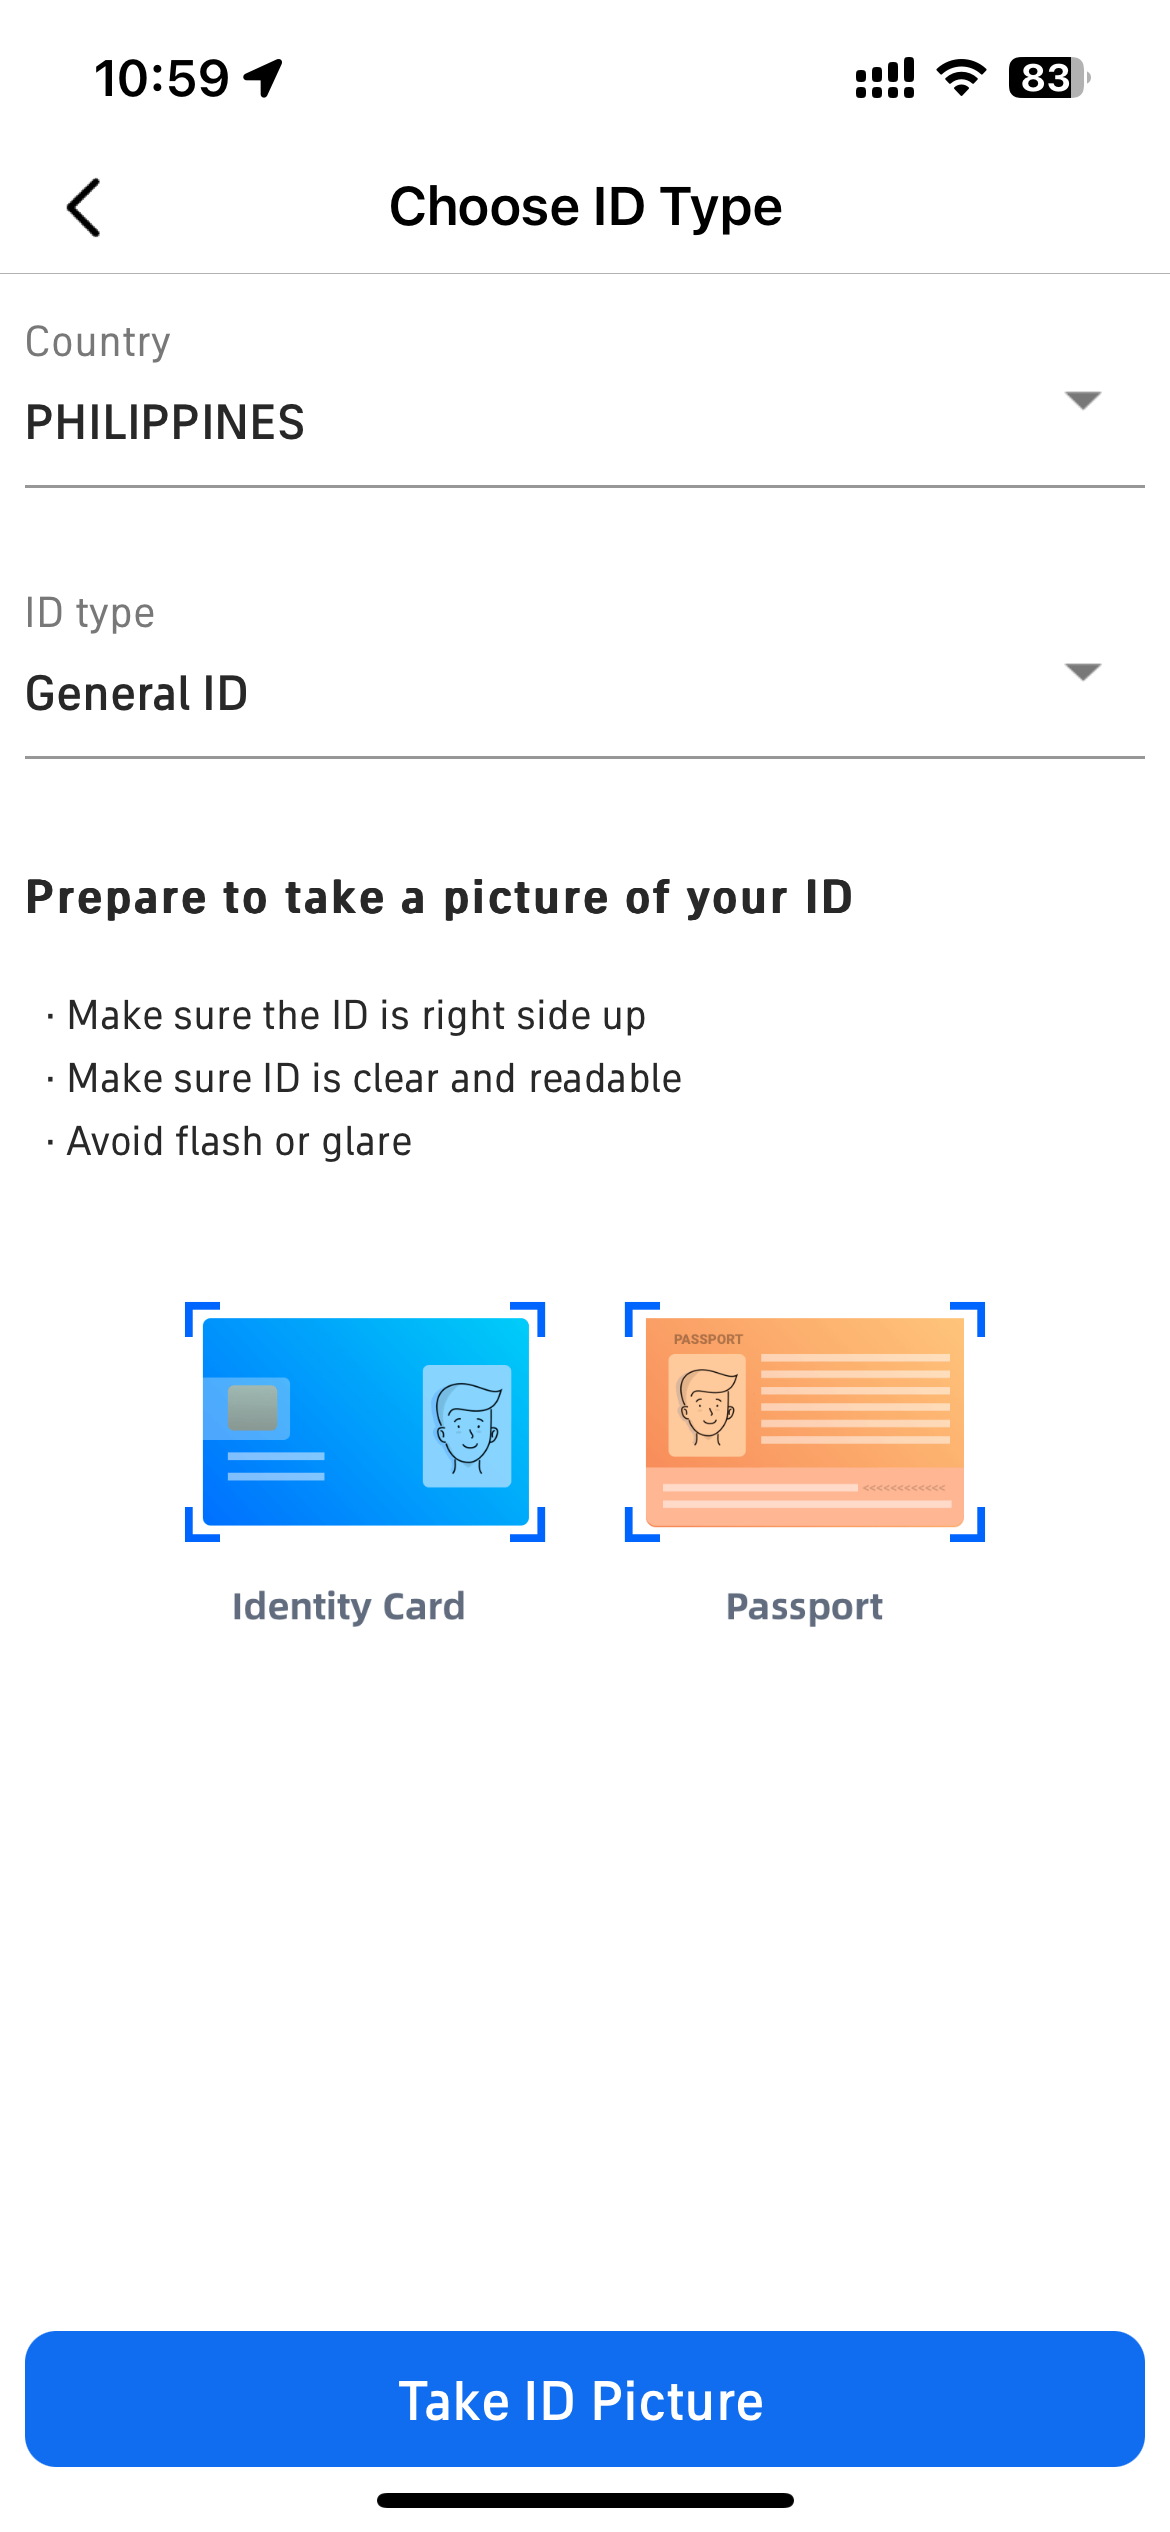
- Select your "Country" and "ID type", then tap "Take ID Picture".
- Configure the verification parameters.
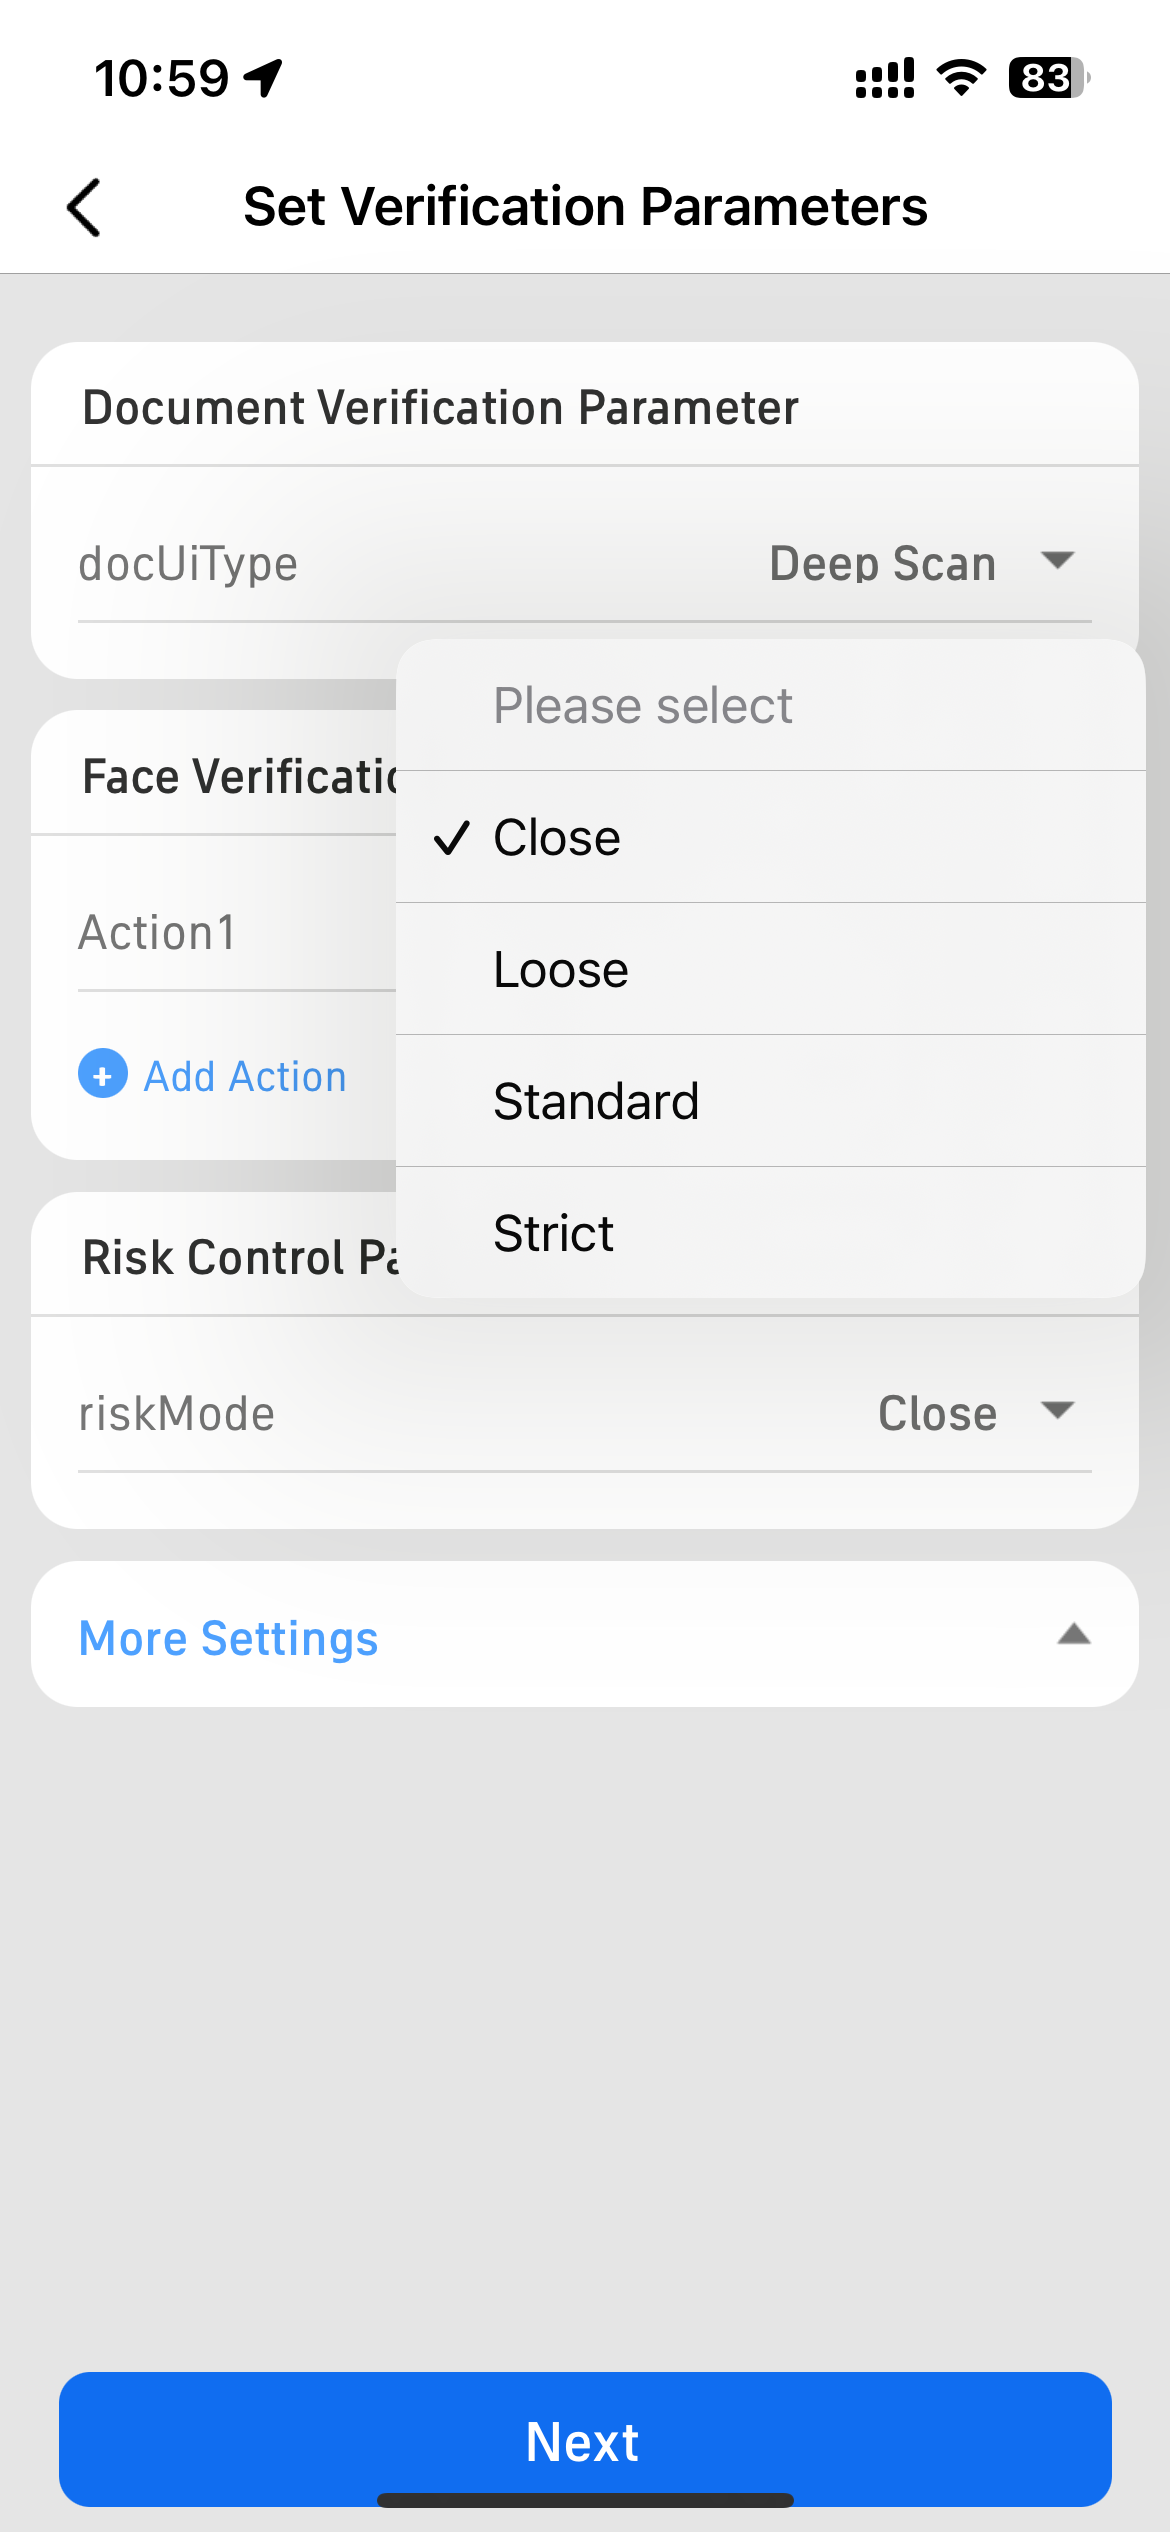
- Document Verification Parameter: It is recommended to select Deep Scan.
- Face Verification Parameter: It is recommended to select Blink.
- Risk Control Parameter: It is recommended to select Standard.
Note: If you need to configure additional parameters, tap "More Settings". For detailed parameter descriptions, refer to the RealID initialize API.
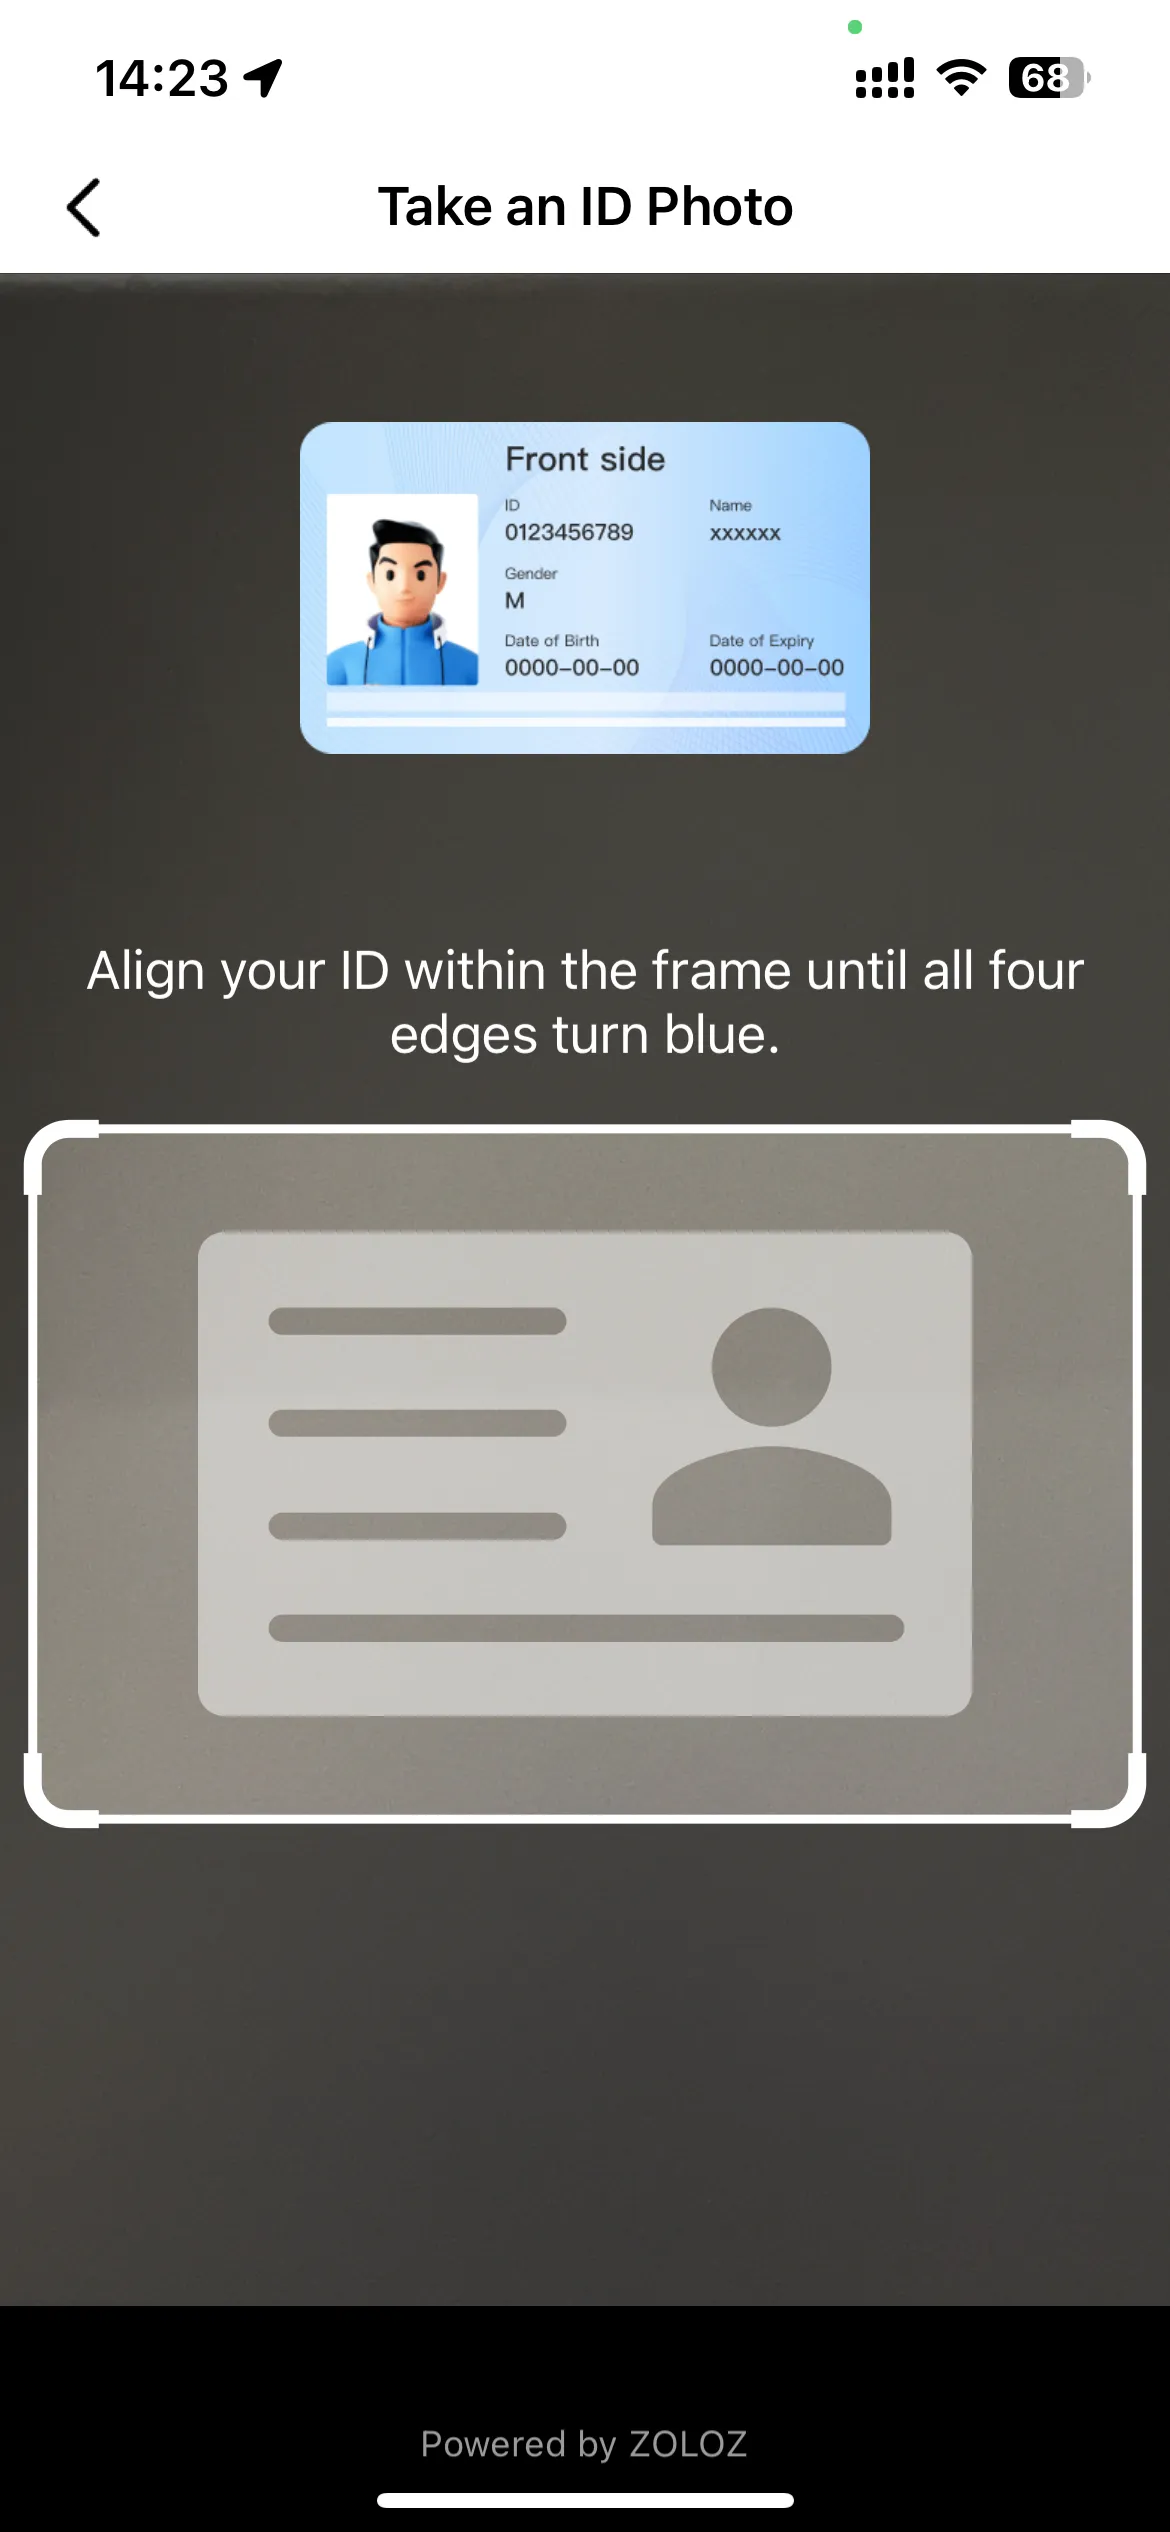
- After preparing to scan the document, tap "Next" and follow the on-screen instructions to capture the document photo.

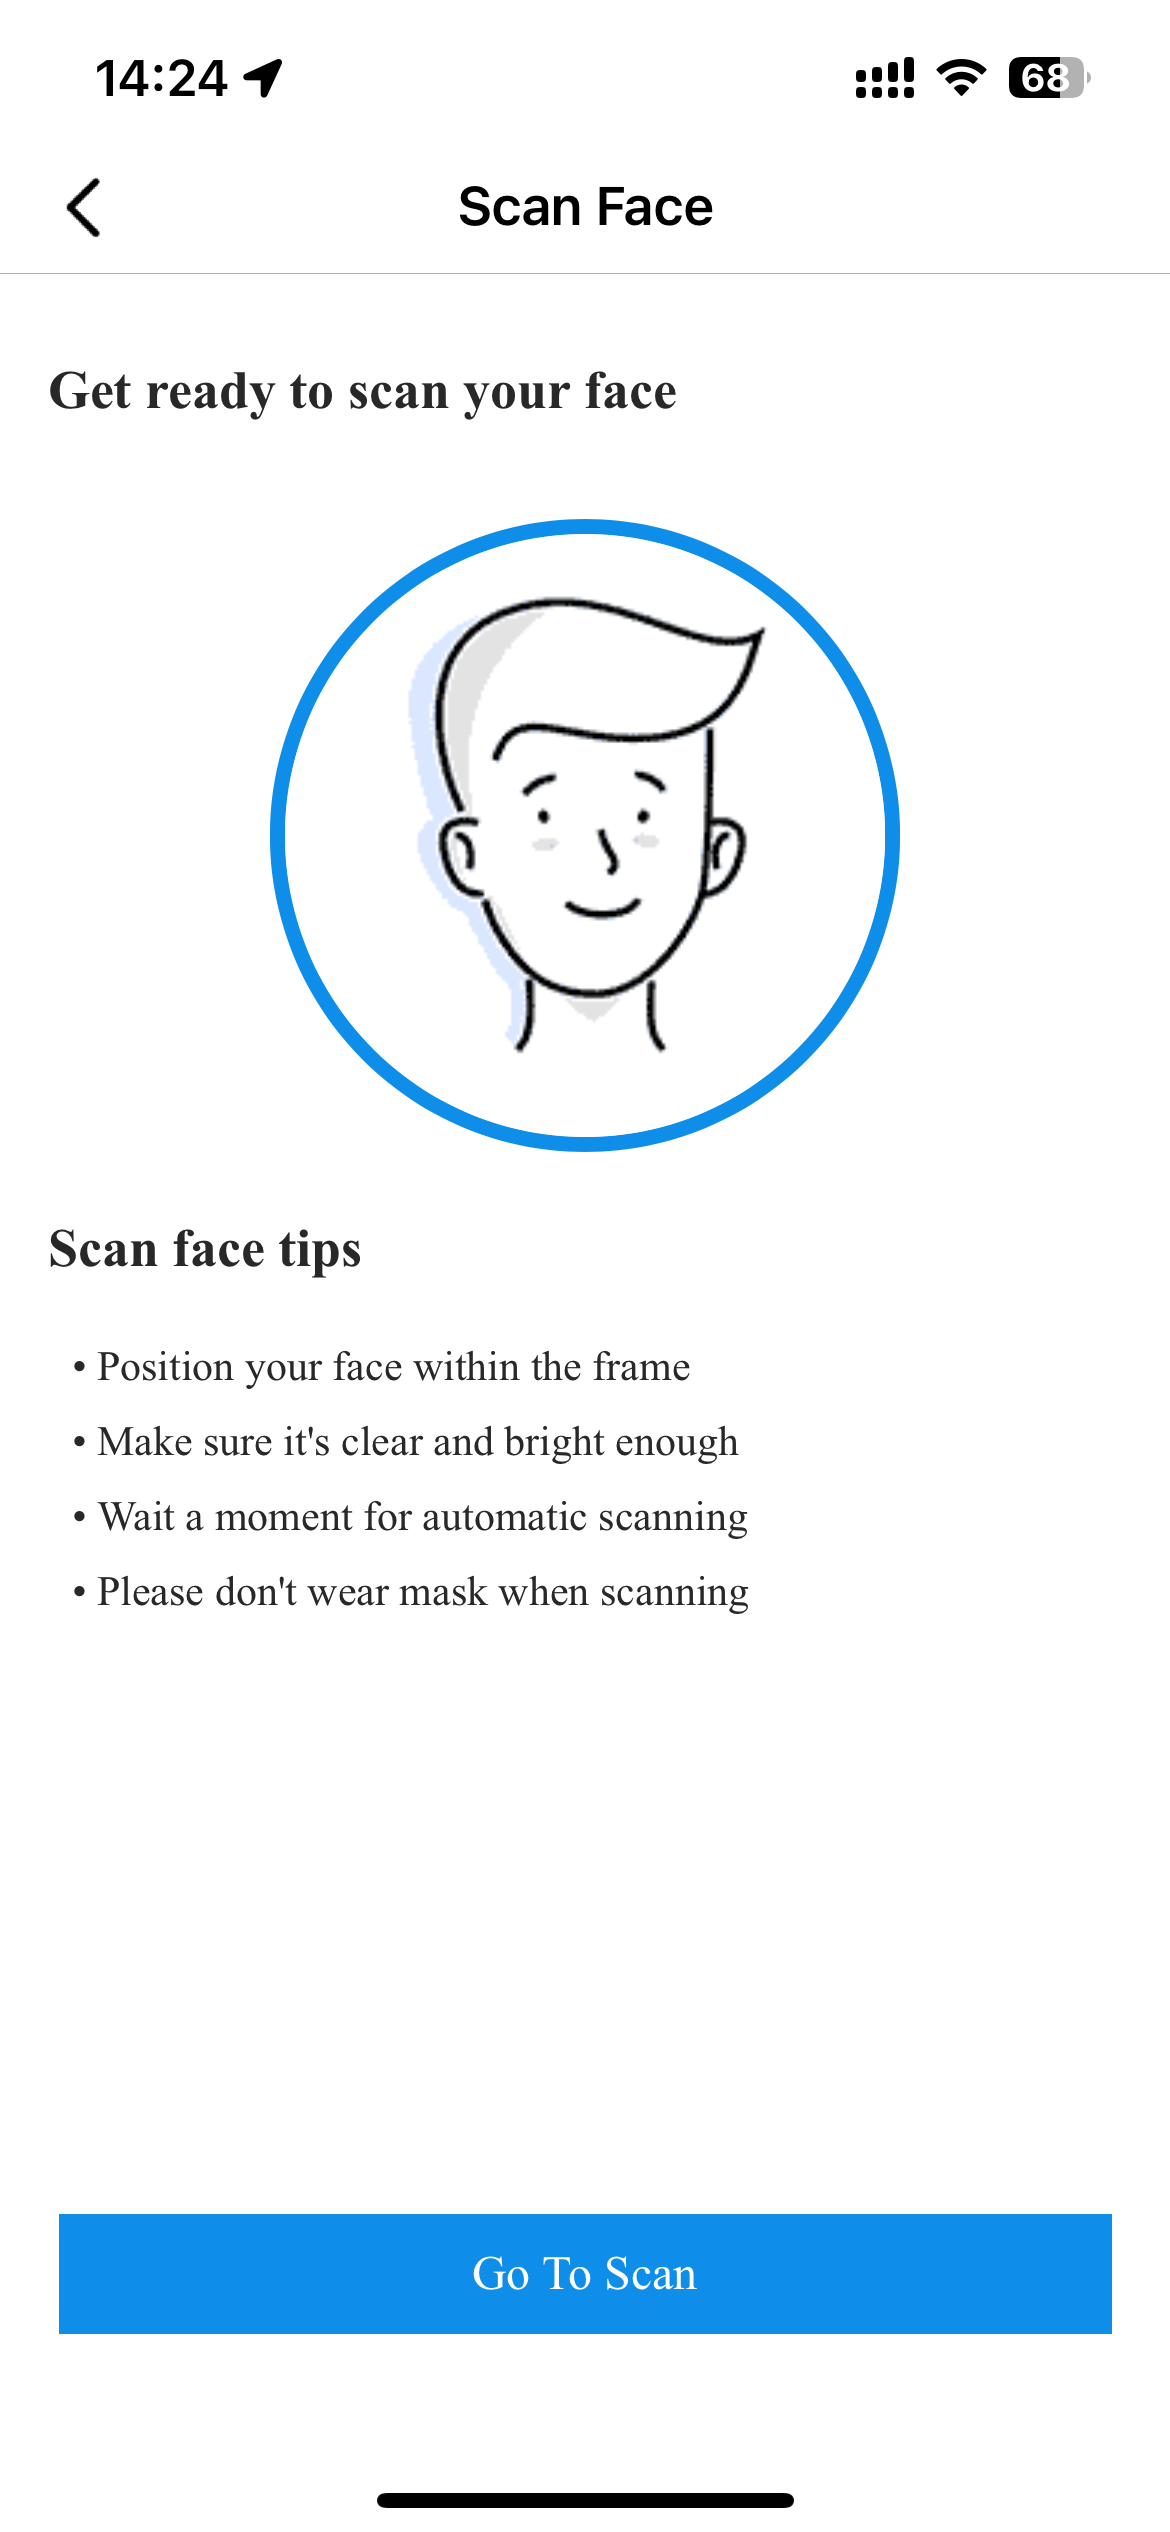
- Tap "Scan Face" and capture a facial photo according to the on-screen instructions.
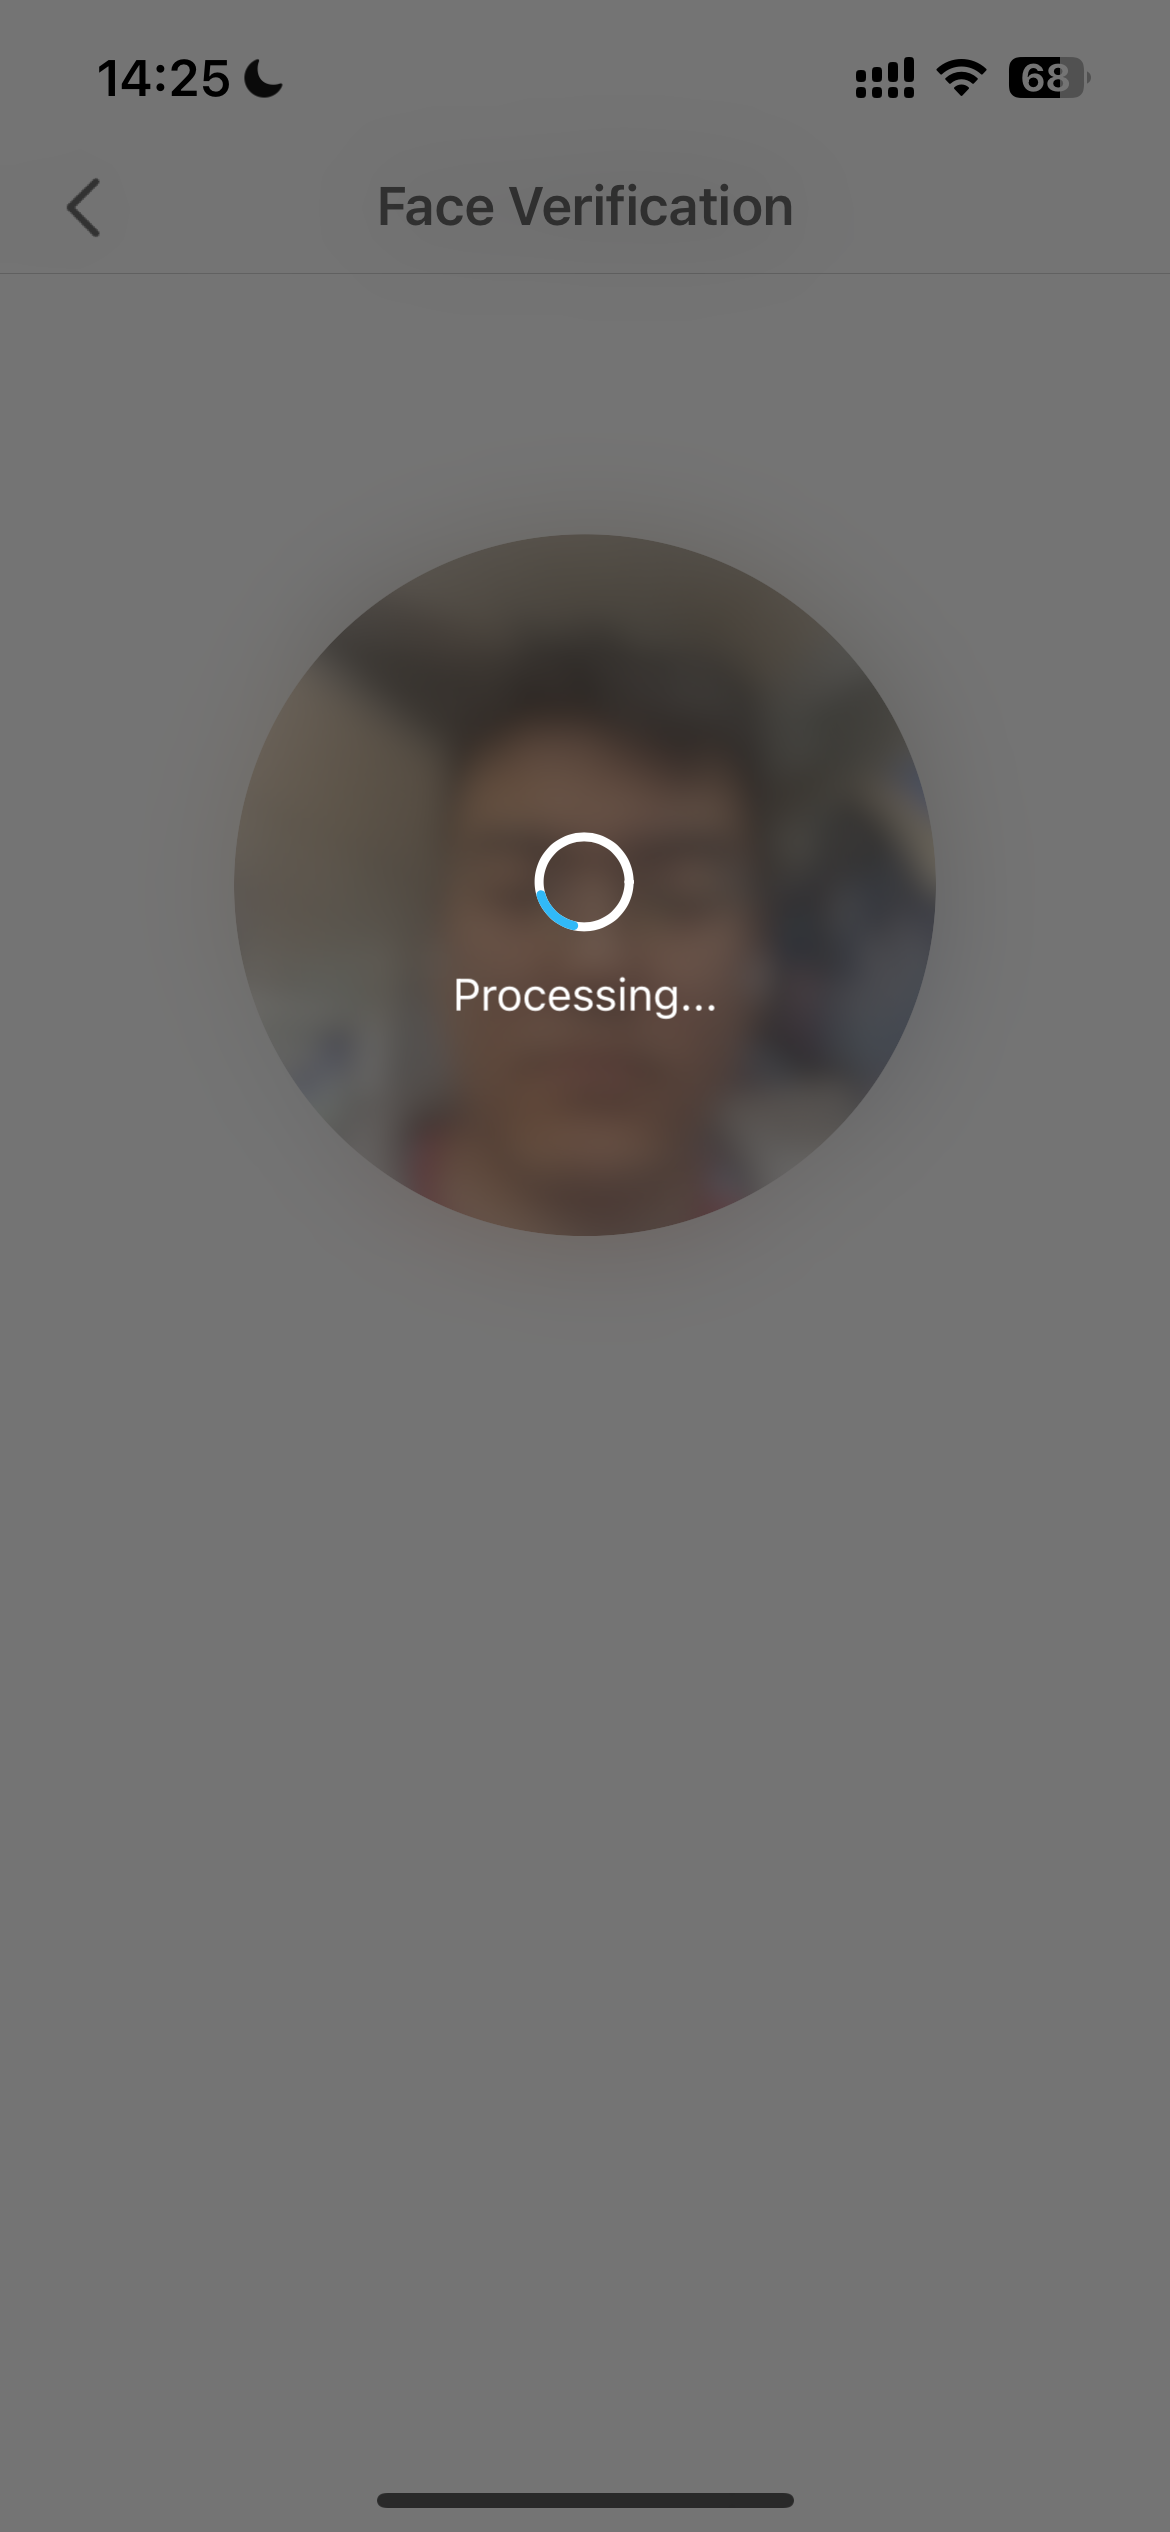
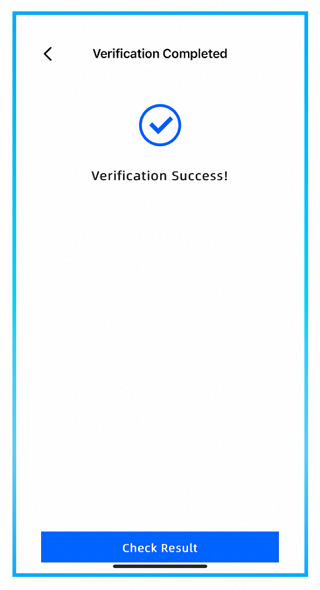
- Tap "Check Result" to view the verification result. A successful verification will display "Verification Success!"

- On "Verification Result" page, you can view rhe scan details. Tap "OK" to return to the homepage.
Note: If you encounter any issues during the download, installation and experience of the Demo App, please contact ZOLOZ technical support at any time.
